Your marble and custom tile deserve more than guesswork. Learn the maintenance steps that prevent costly damage and keep floors looking pristine.

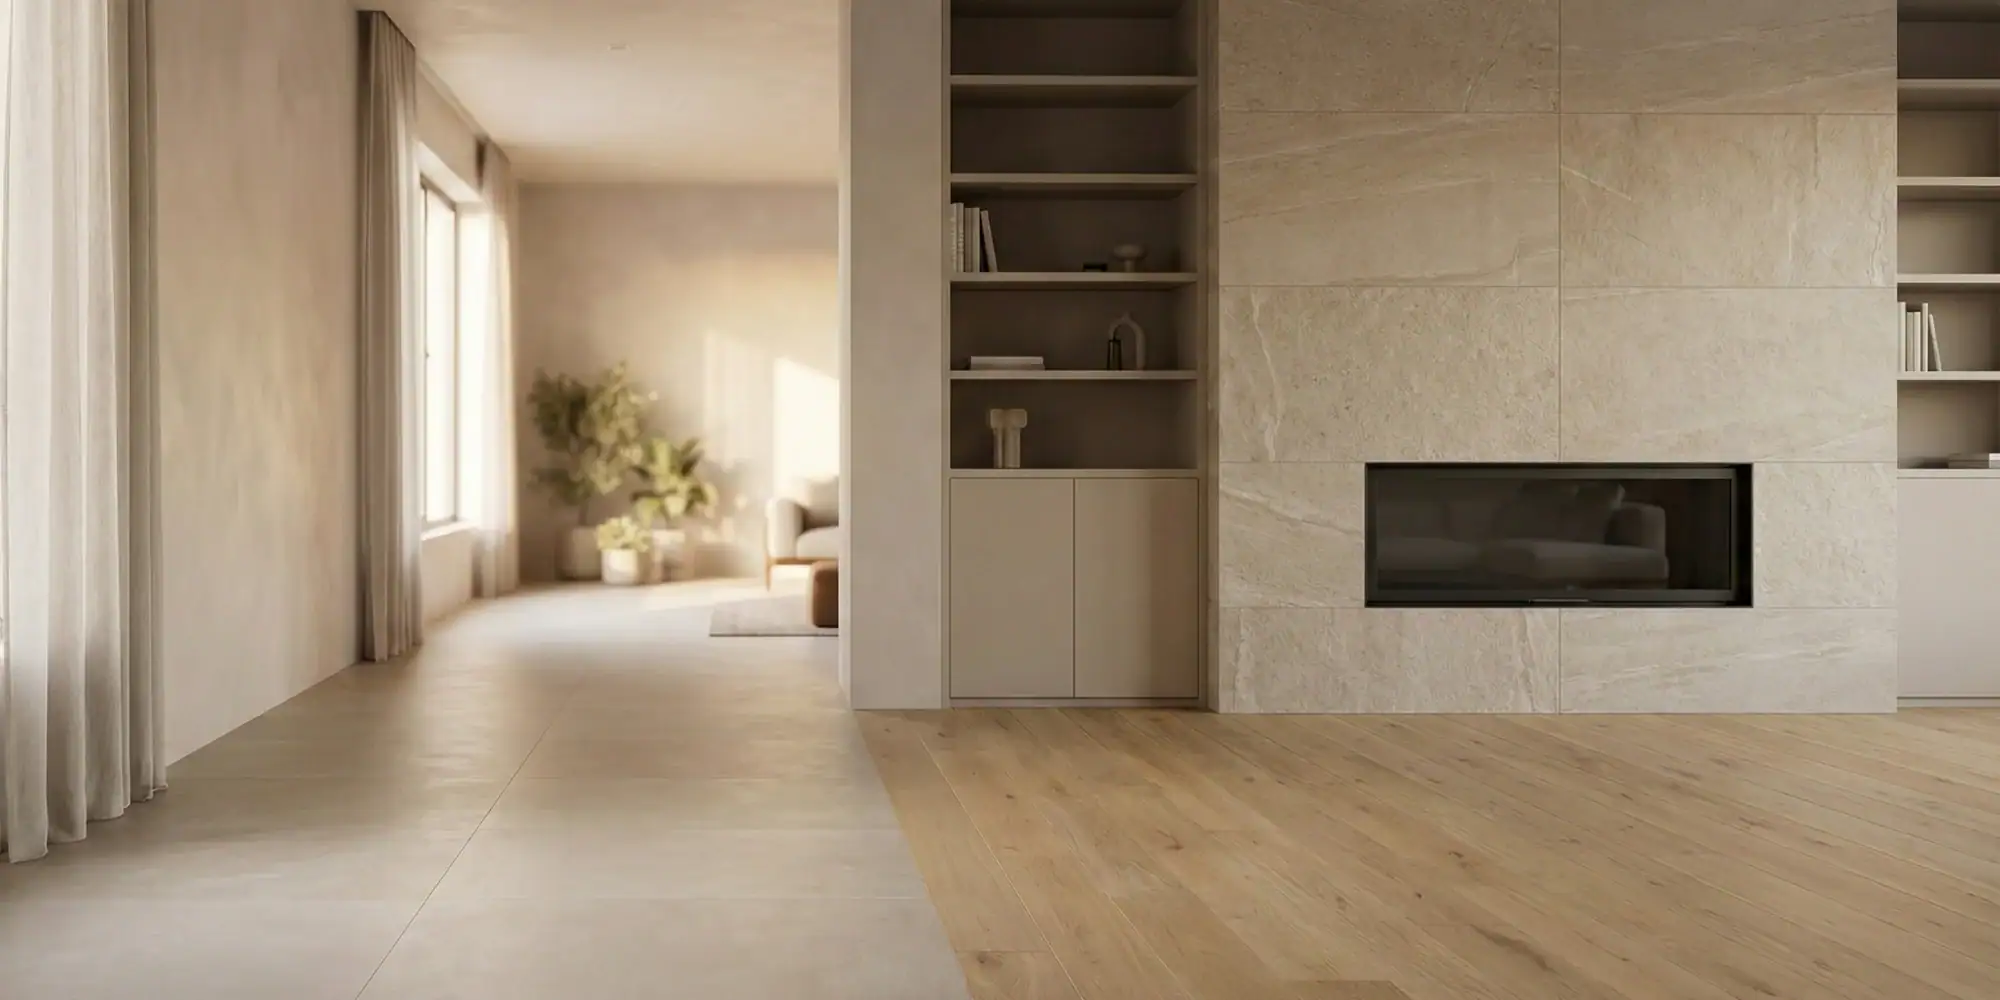
Marble isn’t like the vinyl or laminate you might be used to. It’s porous, which means it has microscopic openings that liquids can seep into. That’s why a spilled glass of wine can become a permanent stain if you don’t act fast.
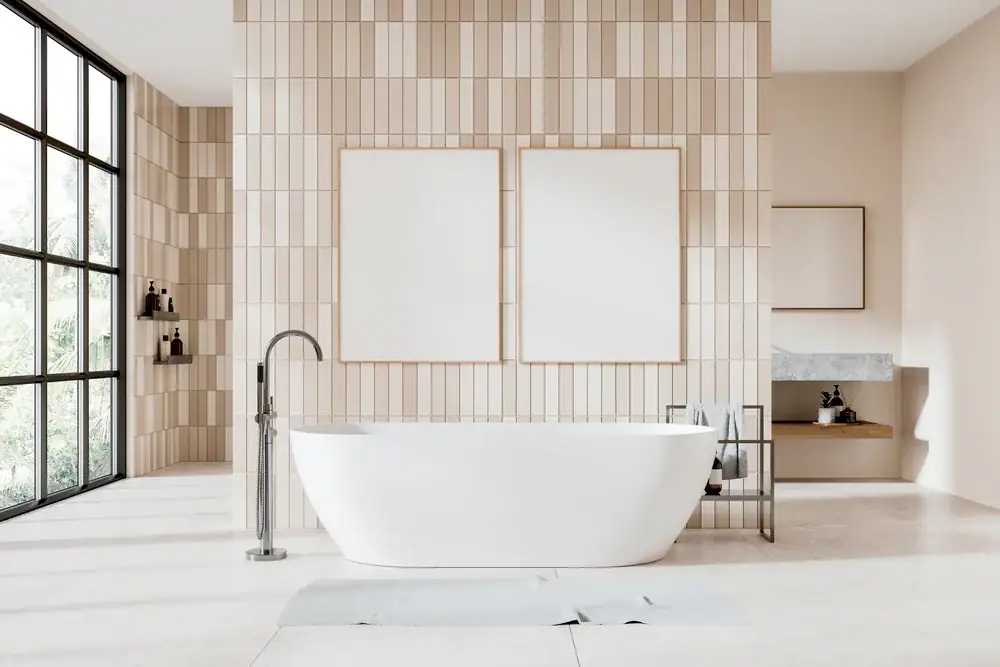
Custom tiles, depending on the material, can have similar vulnerabilities. Natural stone tiles like travertine and limestone share marble’s porosity. Even some ceramic and porcelain tiles, especially if they’re unglazed or textured, need more attention than you’d think.
The finish matters too. Polished marble has that glossy look everyone loves, but it’s more prone to showing scratches and etching. Honed marble has a matte finish that hides imperfections better but can still stain just as easily. Understanding what you’re working with is the first step to maintaining it properly

The biggest mistake people make is reaching for whatever cleaner is under the sink. Vinegar, lemon-based products, bleach—these are all terrible for marble. They’re acidic or too harsh, and they’ll etch the surface, leaving dull spots that look like water stains but are actually chemical burns.
What works is simple: warm water and a pH-neutral cleaner designed for natural stone. You can use a very diluted solution of mild dish soap in a pinch, but make sure it doesn’t have any citrus or harsh additives. The key is keeping it gentle.
For daily maintenance, a dry microfiber mop or soft-bristle broom does most of the work. Dust, dirt, and grit are abrasive—they’re what cause those fine scratches that build up over time. Sweeping or dust-mopping regularly, especially in high-traffic areas, prevents that grit from grinding into your floors every time someone walks across them.
When you do need to mop, use a damp mop, not a soaking wet one. Excess water sitting on marble, especially in the grout lines, can cause problems over time. Wipe up spills immediately—don’t let them sit. Coffee, wine, oils, even some perfumes can penetrate the surface if given enough time. Blot, don’t rub. Rubbing can push the liquid deeper into the stone.
After cleaning, it helps to go over the floor with a clean, dry microfiber cloth. This removes any remaining moisture and prevents water spots, which can be surprisingly stubborn on polished marble. It’s a small step that makes a noticeable difference in how your floors look day to day.
If you’re dealing with soap scum or hard water buildup, especially in bathrooms, you’ll need a cleaner specifically formulated to handle those without damaging marble. Look for products labeled as safe for natural stone that target mineral deposits. Apply according to the directions, don’t let it sit too long, and rinse thoroughly.
Not all “natural stone cleaners” are created equal. Some still contain ingredients that can dull your finish or leave residue. The safest bet is a pH-neutral cleaner—that means it’s neither acidic nor too alkaline. Brands like Black Diamond Stoneworks, Granite Gold Daily Cleaner, and products specifically labeled for marble and travertine tend to perform well.
If you’re buying something off the shelf, flip it over and read the label. It should explicitly say it’s safe for marble or natural stone. If it mentions vinegar, citrus, or acids anywhere in the ingredients, put it back. Even if it claims to be “natural” or “eco-friendly,” that doesn’t automatically make it safe for stone.
For routine cleaning, you honestly don’t need much. A quality pH-neutral spray cleaner and a microfiber cloth or mop will handle 95% of your maintenance. Keep it simple. The goal is to remove dirt without stripping away the sealer or damaging the stone itself.
When it comes to grout, that’s a separate consideration. Grout is more porous than the tile itself, and it tends to trap dirt and darken over time. You can use a soft brush with your pH-neutral cleaner to gently scrub grout lines. Avoid harsh grout cleaners that contain bleach or acids—they can damage both the grout and the surrounding tile.
For tougher stains on grout, there are grout-specific cleaners that are safe for use around natural stone. Just make sure the product won’t splash or spread onto your marble or tile. Test in an inconspicuous area first if you’re unsure. Once the grout is clean, sealing it helps keep it that way and makes future cleaning easier.
Some people swear by steam cleaners for tile floors, and they can work well for ceramic and porcelain. But be cautious with marble—excessive heat and moisture can sometimes affect the sealer or the stone itself, especially if it’s already compromised. If you do use steam, keep it on a lower setting and don’t let it sit in one spot.
The bottom line: invest in one or two quality products designed for natural stone, and you’ll avoid most of the problems that come from using the wrong thing. It’s cheaper than fixing etching or restoring a dulled finish.
Want live answers?
Connect with a American Dream Floor expert for fast, friendly support.
Sealing is what protects marble and porous tile from stains. It creates a barrier that gives you time to wipe up spills before they penetrate the stone. If your floors weren’t sealed during installation, or if it’s been a few years, they’re vulnerable.
The easiest way to check if your marble needs sealing is the water test. Put a few drops of water on the surface and wait 10 to 15 minutes. If the water beads up and stays on top, your sealer is still doing its job. If it soaks in and darkens the stone, it’s time to reseal.
How often you need to reseal depends on traffic and use. High-traffic areas like kitchens and entryways might need it every 6 to 12 months. Bathrooms, with all the moisture, often need resealing every year or two. Low-traffic areas can go longer—sometimes up to three years

Before you seal, the surface has to be completely clean and dry. Any dirt, soap residue, or moisture trapped under the sealer will cause problems. Clean thoroughly with a pH-neutral cleaner, rinse well, and let it dry for at least 24 hours. If you’re sealing a bathroom, make sure there’s no humidity in the air—run a fan or dehumidifier if needed.
Choose a penetrating sealer, not a topical one. Penetrating sealers soak into the stone and protect from within without changing the appearance or creating a surface film that can wear off or yellow. Look for sealers from reputable brands like Mapei, Laticrete, Ardex, or Fila. These are often available through flooring suppliers, though some home improvement stores carry them too.
Read the manufacturer’s instructions. Every product is slightly different, and you want to follow their specific guidance. Generally, you’ll apply the sealer with a clean cloth, sponge applicator, or brush, working in small sections—about three feet at a time. The goal is even coverage without pooling.
Let the sealer penetrate for the recommended time, usually 10 to 20 minutes. If the stone starts to look dry during this time, apply more sealer immediately. You don’t want it drying on the surface. After the penetration time, wipe off any excess with a clean, dry cloth. Leftover sealer sitting on top can leave a hazy film.
Once you’ve sealed the entire floor, let it cure. This usually takes 24 to 48 hours, though some products recommend waiting up to 72 hours before heavy use or cleaning. During this time, keep foot traffic to a minimum and don’t get the floor wet. The sealer needs time to fully bond with the stone.
If you’re sealing grout as well, use a grout sealer or a sealer that’s safe for both tile and grout. Apply carefully to avoid excess product on the tile surface, especially if your tile is polished. Grout sealer helps prevent staining and makes grout easier to clean, which is especially helpful in kitchens and bathrooms.
For best results, some professionals recommend applying a second coat of sealer, especially on very porous stone or in high-use areas. If you’re doing a second coat, apply it within the timeframe specified by the manufacturer—sometimes within an hour, sometimes after the first coat has dried. Check the label.
Scratches happen when something abrasive rubs against the stone. Grit from outside, pet claws, furniture being dragged—it all adds up. The easiest prevention is keeping dirt off your floors in the first place. Doormats inside and outside entrances trap a lot of the debris that would otherwise get tracked in.
Felt pads under furniture legs are a simple fix that makes a big difference. They let you move chairs and tables without scratching the floor. If you’re rearranging heavy furniture, lift it instead of dragging it, or use furniture sliders designed for hard floors.
Etching is different from scratching—it’s a chemical reaction that happens when acidic substances touch marble. Lemon juice, vinegar, some cleaning products, even certain foods and drinks can cause it. Etching looks like a dull spot or water mark, but it’s actually the acid eating into the stone’s surface. Once it happens, you can’t wipe it away.
The best defense against etching is prevention. Use coasters under drinks, trivets under hot dishes, and cutting boards when prepping food. If something acidic spills, wipe it up immediately and rinse the area with water. Don’t let it sit.
Light etching can sometimes be buffed out with a marble polishing powder or compound, but deeper etching usually requires professional restoration. If you’re noticing a lot of dull spots or your marble has lost its shine in high-use areas, it might be time to call in someone who specializes in stone restoration. We can hone and repolish the surface to bring back that original finish.
Vacuuming is fine for marble floors, but make sure the vacuum’s wheels and attachments won’t scratch the surface. Some people prefer to avoid vacuums altogether and stick with sweeping or dust mopping. If you do vacuum, use a setting without a beater bar, and check that the wheels are clean and in good condition.
Rugs and runners in high-traffic areas provide an extra layer of protection. Just make sure they have a non-slip backing that won’t trap moisture or damage the floor. Avoid rubber-backed rugs directly on marble—they can cause discoloration over time. Use a breathable rug pad instead.
There’s a point where DIY maintenance isn’t enough. If your marble has deep scratches that go past the surface gloss, widespread etching, or stains that won’t come out no matter what you try, it’s time to call in a professional. Trying to fix serious damage yourself can make it worse.
Professional restoration involves grinding and polishing the stone with specialized equipment and diamond abrasive pads. It’s not something you can replicate with store-bought products. A skilled technician can remove scratches, eliminate etching, and restore the original finish—sometimes making decades-old marble look brand new.
Cracks and chips also need professional attention. Small cracks can spread if left alone, and chips create openings for dirt and moisture to get under the tile. Professionals can repair these issues and reseal the area so it blends seamlessly with the rest of the floor.
If you’re in Wake County, NC or Horry County, SC and your marble or custom tile needs more than routine maintenance, we can help. With over 30 years of experience and a commitment to quality service, we understand what it takes to keep your floors looking their best—and when restoration is the right call.
Summary:

Share: